

Your Laser Settings Guide for Acrylic
Your acrylic cuts are rough and discolored, or your engraving looks shallow and weak. The problem is almost always your laser settings. A small change in speed or power makes the difference between a polished product and wasted material. This guide provides the foundation for dialing in your machine, specifically for the cast acrylic sheets favored by makers.
Understanding Your Acrylic Material
Not all acrylic is the same. The correct laser settings for acrylic depend heavily on your material type. For laser work, cast acrylic is superior to extruded acrylic. Cast acrylic cuts cleaner and engraves with a more frosted, polished finish. It is also less likely to melt or produce inconsistent edges.
Your material's thickness is the first variable to consider. A 3mm sheet requires less laser power than a 10mm sheet. Always note the exact thickness of your cast acrylic sheet before you start. This number directly influences your power and speed parameters.
Your Laser Settings Guide for Acrylic: Core Concepts
Every laser job hinges on three main settings: power, speed, and frequency. Getting these right for your specific machine and material is essential.
Laser Power Percentage
Power controls the intensity of the laser beam. Think of it as the strength setting. For cutting, you need high power to penetrate the full material thickness. For engraving, you use lower power to etch the surface. Starting too high can cause melting or burning.
Speed Settings
Speed determines how fast the laser head moves. A slower speed gives the laser more time to affect the material, leading to deeper cuts or darker engraving. A faster speed produces lighter, shallower effects. Cutting usually requires a slower speed than engraving.
Frequency or Pulse Rate
Frequency, measured in Hz, controls how often the laser pulses per second. A lower frequency (like 500 Hz) creates a dotted line effect, useful for perforated cuts. A high frequency (5000 Hz or more) produces a continuous line, which is standard for smooth cutting and engraving. For clear acrylic, a high frequency is typical.
Getting the Focus Right
Focus is not a software setting but a physical adjustment. A correctly focused laser beam is at its smallest, most concentrated point on the material's surface. An out-of-focus beam loses energy and creates wider, less precise cuts. Always use your machine's focus tool or manual gauge. The right focus is critical for fine detail and clean edges.
Settings for Cutting Acrylic Cleanly
Cutting requires the laser to pass completely through the material. You will use a vector path in your design software. Because the laser burns away a tiny amount of material, you must account for kerf. Kerf is the width of the laser cut. For precise parts, use software compensation so your final dimensions are accurate.
Start with these general principles for cutting. Use high power, often between 80% and 100% for a CO2 laser. Use a slow speed, sometimes as low as 1-2% on slower machines. Use your machine's maximum frequency for a continuous beam. Always test on a scrap piece of the same thickness first. Air assist should be on high to clear debris and prevent flaming.
Settings for Engraving Acrylic
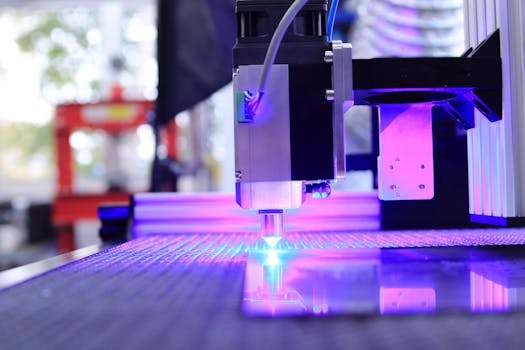
Engraving etches the surface without cutting through. You typically use a raster pattern, where the laser moves back and forth like a printer. The goal is a frosted, opaque finish on clear or colored acrylic.
For engraving, use lower power. Settings between 10% and 30% are common. Speed is higher than for cutting; you might experiment between 20% and 80%. A very high frequency ensures a smooth finish. Some machines use a dwell setting, which is a pause at the start of each line to ensure the power is stable. This can improve consistency.
Test different combinations. Higher power with higher speed can sometimes yield a similar result to lower power with slower speed. The best way is to run a test grid to find the perfect balance for your machine.
Advanced Tips and Troubleshooting
If your cut edges are brown or melted, your speed is too slow or your power is too high. Try increasing the speed slightly. If the laser does not cut through, increase the power or lower the speed. A smoky, rough edge often means your air assist pressure is too low.
For very thick acrylic, you may need multiple passes. Cut at a higher speed with full power, and run the job two or three times. This prevents excessive heat buildup. Always ensure your acrylic has its protective film on during cutting to prevent surface scuffs. Peel it off afterward.
Different colors can react differently. Black acrylic absorbs more laser energy, so you might reduce power slightly. Transparent colors may need adjusted settings for optimal engraving contrast. Our guide on [link: cutting thicker acrylic materials] has more details for advanced projects.
Putting Your Guide Into Practice
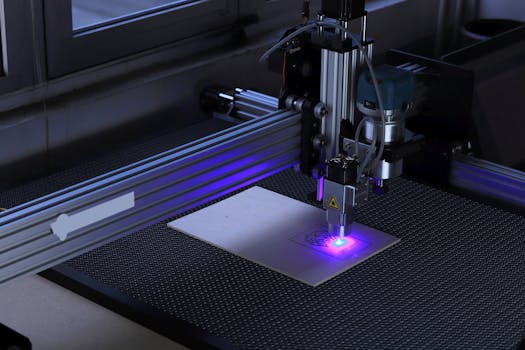
The numbers in any guide are starting points. Your specific laser tube, lens condition, and air pressure create a unique environment. The only way to find your perfect settings is through methodical testing. Create a test file with small squares for engraving and small circles for cutting. Label each with the power and speed used. This reference card becomes your most valuable tool.
Begin with quality materials. Consistent, laser-optimised cast acrylic sheets produce predictable results, making it easier to lock in your perfect settings. Then you can focus on creating, not calibrating.